Saturday, February 25, 2012

Impossible Pie? Hardly.

My friend Roxy shared this with me a couple of weeks ago via Facebook, but I only got around to making it yesterday.  And like I do most recipes, I gave it a little twist of my own.  Instead of corn kernels I added finely chopped mushrooms, and I didn't have parsley, so I added some fresh chives.  I guess it's the kind of recipe you can adapt to suit what you like and what you don't like.  I was going to have a salad and some garlic bread with it, but I got kind of lazy and just had bread and butter instead.  Oh well, my intentions were good! 


Impossible Pie

1/3 cup plain flour
1 1/2 cups milk
3 eggs
250g bacon diced
1 onion diced
1 cup grated cheese
1/2 420g corn kernels
parsley, salt and pepper

Whisk flour and milk in bow, l then add all remaining ingredients. Grease a shallow quiche dish, pour in mixture, and cook on 150 degrees celsius for about an hour, or until brown on top and set in the middle.  I liked it hot, but David preferred it cold the next day.  Either way, it was delicious!  Thanks Roxy!!

Sunday, January 29, 2012

Dining room project - COMPLETE!

There's really nothing like acting on a bit of 'spur of the moment' inspiration, is there?  On Friday we had a light bulb moment regarding our tired looking dining room.  My favourite magazine is Real Living, and one page in the latest edition got us thinking.  Before we changed our minds we were straight up to Masters  to get what we  needed.

This was our blank canvas -

  
Red was to be the feature colour.  Big, bold, sassy red!  We also decided that one wall would be a black board - part children's entertainment centre, and part adult reminder centre. It was raining outside (again!) so it was the perfect day to pull out all stops and create something flashy to brighten everything up.  We started by cleaning the walls down with sugar soap, and then cut in around the edges with the paint. We then added the blackboard paint on our chosen wall.


We had lots of little hands wanting to help, so we had to barricade the area with stools and chairs, although we did let Jai  have a turn with the roller.  One roll up and down and he was satisfied!


It took us two full days to finish the project but it was so much fun watching it all come together.  It cost us just a little over $100 to transform the space and we love it to bits.  We finished the blackboard off with some faux timber skirting boards, and we re-arranged our family photos on the opposite wall.

What do you think of it?  As for us, well, we can't stop looking at it.  In fact, we may just move the lounge suite in there tonight and watch the wall instead of the TV!


Next up (aside from the still on-going garden project!), is the restoration of a piece kitchen hutch into an awesome shelf.  Renovation projects galore in this house!

Saturday, January 28, 2012

Betty Crocker eat your heart out!

My daughter is obsessed with cake decorating.  She watches YouTube videos constantly and has taught me what an offset spatula is, what a crumb coating is, and that icing is really called 'frosting'!

This one is her favourite -


I swear she has watched this one a hundred times!  And she's asked me just as many times if she can make her own.  So I indulged her today and we made one.  I had to admit defeat when it came to making a princess cake, so I bought a chocolate fudge cake packet mix, raided the chook pen for eggs and while the rain poured down outside, we baked.

Seeing as though she couldn't make a princess, she  decided that the cake absolutely had to have chocolate 'frosting', and that it would be covered in pink flowers and butterflies.

This is the end result.  Frosted and decorated all by my own little pâtissier.


Yes, I know there are no flowers and butterflies.  Girls are allowed to change their minds, you know!  It's our prerogative. And whoever said that having older brothers won't make a tomboy out of a girl is lying!

Sunday, January 22, 2012

On the mountain


My man and I just spent a gorgeous weekend at Binna Burra.  It was the weekend we've been craving for a long time, and it was just what the doctor ordered.  We arrived late on Friday afternoon, but with still enough light to set up the tent.  We felt a bit like hillbillies with our set up - a 15 year old tent, no gas stove, no blow up mattress and our outdoor coffee table from home!  But we had everything we needed for two nights, and we were child-free!


Binna Burra is a perfect campsite.  Lovely clean facilities, including washing machines and dryers if needed, and such a pretty setting in the rainforest.  On our first night, our neighbours camp was invaded by a possum right after they'd finished cooking. Cheeky little thing!


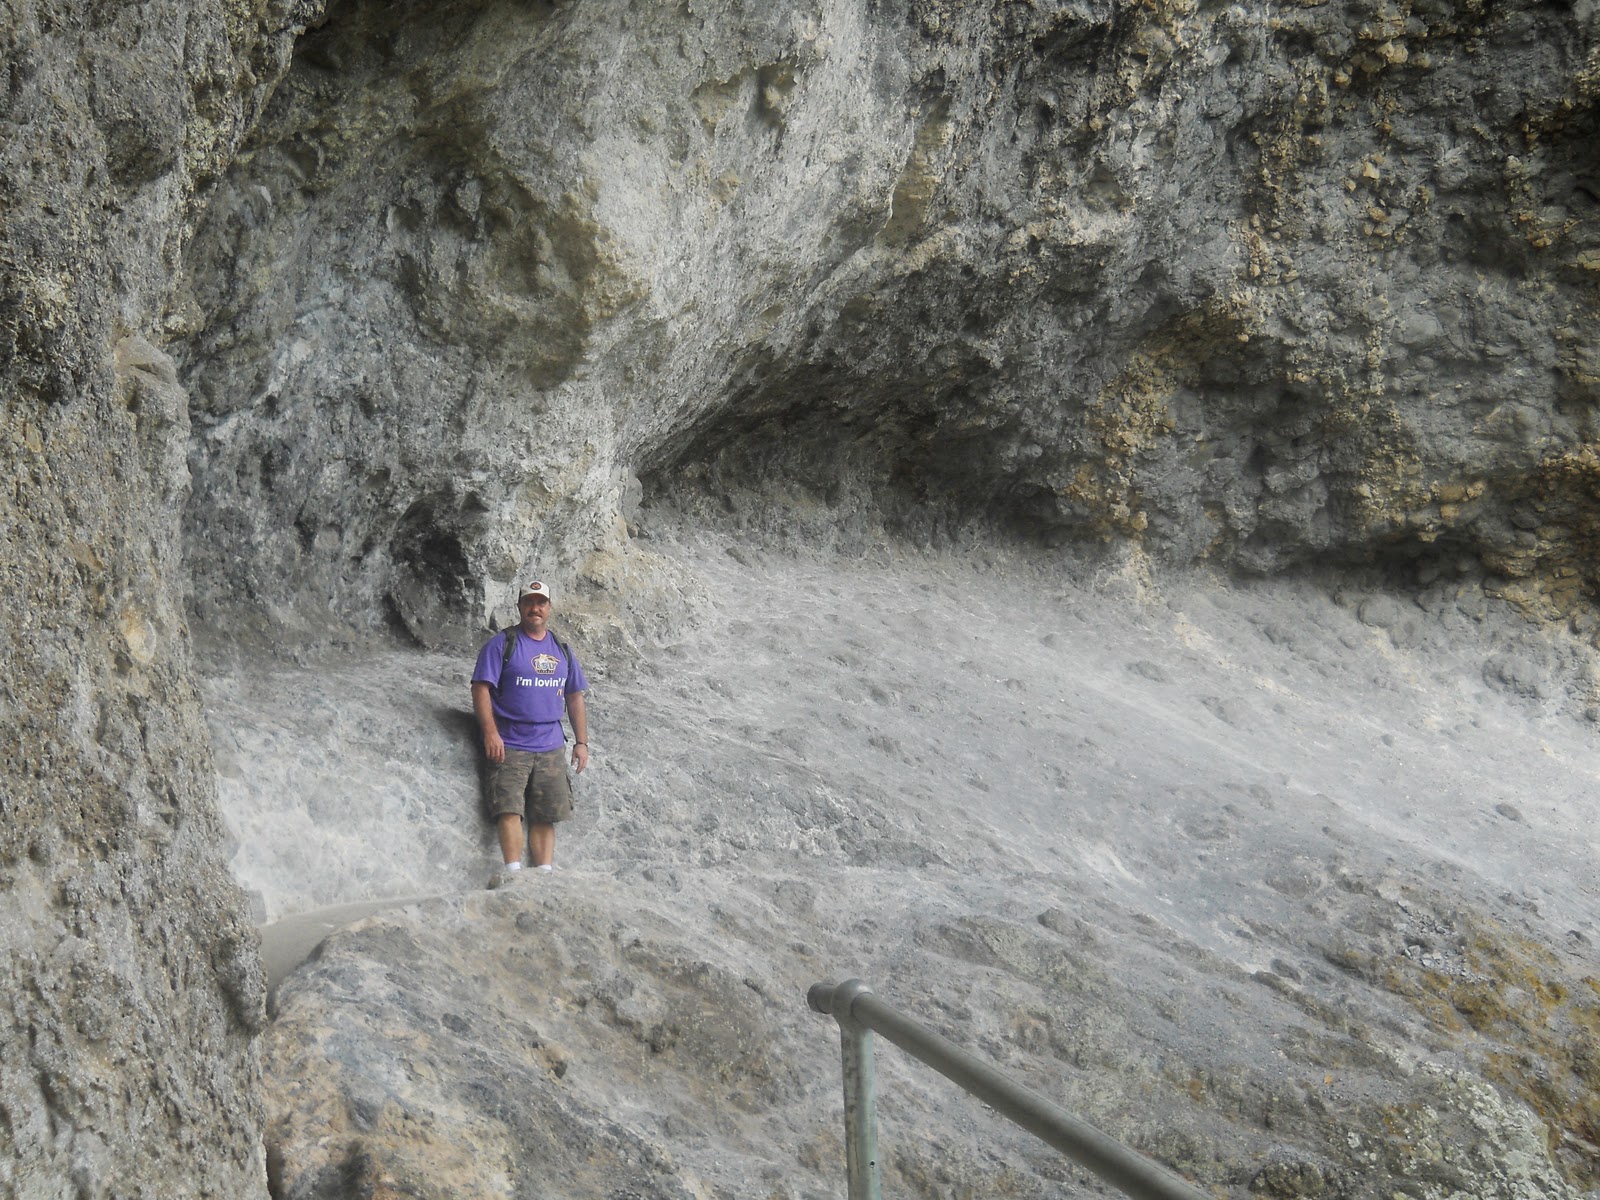
We slept cosy in our itty-bitty tent and woke up to a brisk morning.  We decided to walk to Kweebani Cave, which has been naturally formed by wind and rain over thousands of years.  The Yugambeh people used the cave to shelter in during stormy, rainy weather.  We met a lovely German couple there, who stopped for a chat and a Tim Tam. It's a great walk and is the perfect for little legs. We plan on taking the kids back there one day soon.


The Yugambeh tribe lived on the Gold Coast and it's surrounds,  for thousands of years and their ancestors are still here today. I know some of them, and it's an honour to be able to walk a path that has been trodden by so many before us.


We chilled out at the lodge for a little bit after our walk, and on the way back to the camp site, David spotted a koala in a gum tree. Can you believe it's the first time I've ever seen a koala in the wild?  I think I was more excited than my resident tourist!


For dinner, we had steak cooked over the camp fire coals. While we watched our neighbours heat their canned dinners on propane burners, we feasted on rump and vegies and it was delicious!  It took longer to prepare than to eat, but it was worth every mouthful. 


Aside from the crows waking us at 5am, we slept soundly again, soothed by the sound of the wind whooshing through the tops of the trees.  There's something really special about sleeping outside, even if covered by canvas.  It's soothing to listen to the sounds Mother Nature provides, and the peace of being under a rainforest canopy is like none other.  It's medicine for the soul, and it's something we plan on doing over and over again. We may even splurge and get ourselves a new tent one of these days.  For now though, we are more than content with what we have.  


Tuesday, January 17, 2012

Facebook

I've done it - finally.  I've set up a Facebook page for The Everyday Mum.  I'll be sharing each of my posts from this blog, and also My Year of Living Gratefully.  I'll be sharing articles that inspire me, pictures that make go 'aaaahhh', stories that touch me, and anything else I think you'll all enjoy.

Come on over and click 'LIKE'!   I'd love to have you join me.

Monday, January 16, 2012

Felted Play Mats

My friend Amber has a blog to be envious of.  It's called MamaMoontime, and it's wonderful!  It's full of fantastic ideas for play, parenting and craft and it's always inspiring.

Amber has just released her first ever e-book. How exciting!  This e-book is a tutorial on how to make felted play-mats.  I've made a few of these over the years, thanks to Amber's guidance, and they are still played with even now.  Here is a picture of the pirate treasure map that I made for my son.  He loves to roll it up, tie it with ribbon and stick it in his belt.  Every so often he pull is out, refers to it's instructions and continues on with his adventure.


It didn't take me long to make at all, and comes complete with waves in the ocean, a compass showing all the directions, and of course, X marks the spot.  I added a little pocket under the X which he uses to store his gold bounty.  

Felted mats are simple and durable.  They offer so many open ended play opportunities and require no more than a few hours of your time. They make perfect gifts too!

If you're interested in making one for yourself, take a look at Amber's e-book.  You can find the details here on her blog.  Tell her I sent you!

Sunday, January 15, 2012

Apple, Date and Pecan Tea Bread

Those that follow my Year of Living Gratefully, would know that I promised to share this recipe.  It's raining today and I don't feel like doing anything but writing.  Perfect time to blog, huh?

So here it is -


300 g organic plain flour
2 tsp baking powder
2 tsp ground cinnamon
1 tsp ground ginger
125g organic raw sugar
1 green apple cored and sliced
150g pitted dates, chopped
100g pecans, chopped
2  eggs, lightly beaten
60ml olive oil
60ml organic honey
1 tsp vanilla essence

* Don't let the 'organic' put you off making this!  I prefer organic where possible, but I'm sure it would taste just as good with non-organic produce.

Preheat your oven to 180 degrees celsius and lightly grease a 22cm x 11cm loaf tin.  Sift the flour, baking powder and spices in a large bowl and add the sugar.  Fold the apple, dates and pecans into the dry ingredients. Combine the eggs, olive oil, honey and vanilla, and slowly stir into the dry ingredients. Place the mixture into the prepared tin and bake for 50 - 60 minutes or until cooked.  Turn onto a wire rack to cool.

Once cooled, spread thickly with butter - yum! - and eat.